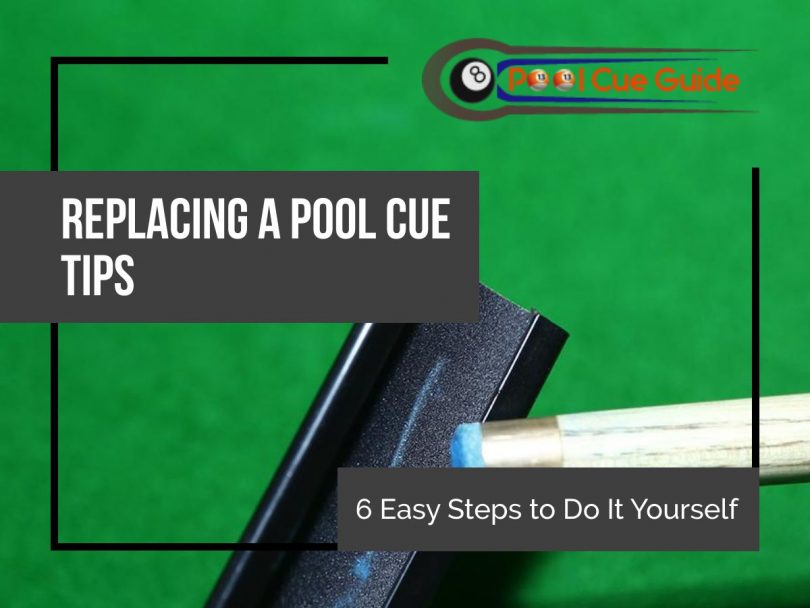
No matter how costly the cue, it is bound to wear off over time. Plus, it will deform faster for regular players. But you don’t need to discard the whole stick just because of a tattered tip, as it can always be replaced. For this, you can either reach out to a pool shop or do it yourself to save a couple of bucks. But doing it yourself without guidance isn’t easy, and it can wreck your stick instead. Therefore, here we have compiled a few simple steps to help you replace your Pool cue tip without any professional help.
Content Navigation
Steps to Replace Cue Tips
Step 1: Separate the Old Cue Tip
If your cue tip has lost the original curvature, then it is time to replace it. For that, you would need to remove the old first. Fetch a razor blade and make sure the edges are as sharp as possible (if not, sharpen it using a knife sharpener or purchase a new one). But be careful with the blade, a simple accidental slip can deeply cut your fingers.
Start cutting near the ferrule. You may encounter glue, leather, or the material used to manufacture the tip. Little by little, remove all the excess material in the way. Don’t overdo it, or you’ll remove the material for the stick as well. Make sure the cut is straight and even.
Step 2: Smoothen the Ferrule
Cleaning and leveling the ferrule is imperative to keep the next tip stay perfectly in place. For this, you can utilize rapid top sandpaper. Unlike regular sandpaper, it comes with a rotating top and a guide, especially to sharpen the tip. Place the ferrule along with the guide and rotate it until the coarseness is removed. The trick to achieving a fine result is to keep the sandpaper leveled along the surface.
In case you don’t have the rapid top sandpaper, you can use the traditional one. But remember the finer the grittiness, the better will be the results. Just remove the leftover results and level the surface to a point where the tip seems plain enough for the replacement.
Step 3: Prepare the Tip
Next, you must prepare the tip by using the sandpaper on the base to make it clean and leveled. Otherwise, any dust or particles can mess up the angle. The tip is harder to smoothen because it is smaller. So, we’d suggest you place the sandpaper on a plain surface and rub the base on the paper instead. This way, you can control the movement until flattened. Now, put adhesive or any type of super glue to place the tip perfectly on the ferrule.
Step 4: Place the Tip on The Ferrule
Needless to say, placing the tip seam to seam is essential to make it work at its best. Carefully place it at the center and press firmly. Make sure there are no air bubbles with the surfaces. Keep your hand steady until the glue has dried. The glue might drip from the sides, which you must remove using a paper towel. Otherwise, it will leave lumps over the ferrule. Next, if you have a tip clamp, then place it on the stick and put a rubber band across. Wait until the glue has dried completely before removing it. This way, the tip will firmly stick to the surface.
Step 5: Cut the Extra Tip
The manufacturers keep the tip’s diameter slightly wider, allowing it to fit sticks with varying thickness.. Place the stick on a solid surface while the tip is facing downward. Take the razor and start removing chunks of additional material. Be patient as a slight mistake and deform your tip. Therefore, don’t cut too much material at once.
Place your eye along with the stick and rotate it to find extended portions. Once they have similar diameters, use sandpaper having 800 grit level to smoothen the surface. It might take a while, but the results would be worth it. Make sure you are sanding the tip, not the ferrule; otherwise, it will leave ferrule deformed.
Step 6: Shape the Tip
Most likely, the newly bought tip is flat. You need to shape it as you like by using sandpaper. To make the perfect curvature, take it as slow as possible and spectate after every rub. This way, you’d be able to achieve the ideal shape; dime, nickel, etc. But don’t rub on the front, or you’d flatten the surface. After you are done, moisten the sides and burnish it for a smoother finish. Also, it will remove extra chipped off material. Now, you are ready to start playing.
Frequently Asked Questions
How Long the Tip Usually Last?
That depends on many factors; hardness, material type, and how frequently it is being used. For instance, the tips made from skin last only for few months say; 6 months at most. But phenolic tips last for years and that’s why they are expensive. Moreover, the soft tips wear off faster than the hard ones.
Which Shape Is Best for The Cue Tip?
Rounder tips are best for applying English while the flat ones will have less unintentional English. However, a flatter tip reduces misalignment errors and makes it easy to control sidespins. Both have some advantages and disadvantages, therefore choose the one that personally suits you.
What Is the Optimum Size of The Cue Tip?
They come in various sizes from 11mm to 15mm. But 13mm is the most common size, which is recommended by most. You can choose smaller options if you are an advanced player.
Conclusion
The process isn’t as easy as it may seem, but following our guide will help you successfully replace the tip. The first attempt might be hard, but you will develop a better understanding over time. The key element to successfully pull it off is patience. Without it, you would not only mess up the tip but also the whole stick.

Self Professed Geek , into all kinds of tech including search engine optimization , Computer networks and more. I love playing pool ( eight ball , nine ball and snooker) I own my own pool table a play daily. I love to try out new pool cues and accessories. read my review of actual pool cue i have used and use often.